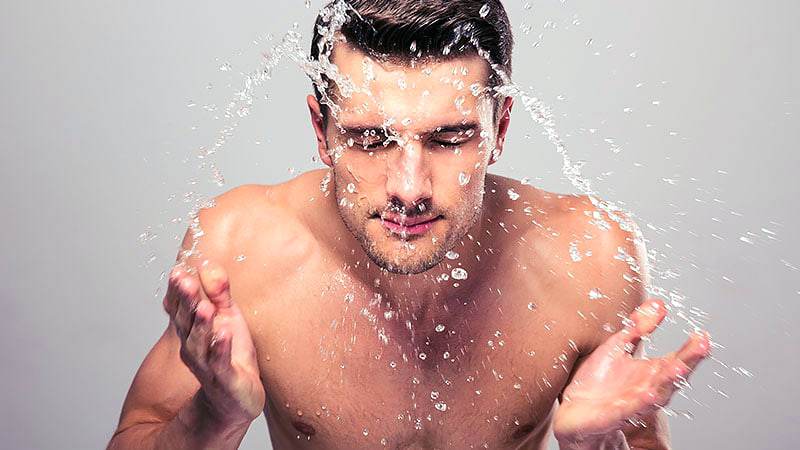
This week we’re tackling dull complexions and worn/tired skin – (black)head on!
After puberty was done, I was lucky enough to always have had relatively good skin. (That’s not me gloating, but to say that I can’t vouch that this routine works for acne or more severe skin problems, but it’ll definitely give you that glow which makes it look like you’re getting a full night’s sleep, even when you’re not).
This day, for example, I was tired, groggy and OVER IT, but you couldn’t really tell. Like, there’s a filter, but no FaceTune/editing.
https://www.instagram.com/p/BqAWrvIFB06/
So when I noticed that I’d begun looking tired – and more scarily – my actual age, I asked a beautician friend to recommend some products. I wanted to look like I’d had a facial every morning – and not the kind you get on Grindr. She told me I needed products that contained glycolic acid which refines the skin’s texture and boosts radiance. Paired with collagen enhancers to give that healthy, plump look. I tend to lose weight in my face first of all, so that part was important for me in order to not age prematurely.
I ended up trying out Nip + Fab, as they contained a lot of the ingredients my friend had mentioned but also were pricey enough to seem like they’d make a difference but cheap enough I wouldn’t begrudge buying them. Also, Kylie Jenner uses them too.
Anyway, since starting this, I can’t tell you the number of people who have commented on how “fresh” I look, even when I feel like I’m decaying inside.
Step 1: Exfoliate
You want to start with an exfoliant to get all of the dirt out of your pores. This is probably one of the most important steps, as this is the one when I really like clean after: getting rid of all the shit and dead skin that’s accumulated, getting into your pores and minimizing blemishes.
Step 2: Wash
Next, proceed with your face wash. As far as I’m aware, Nip + Fab don’t do a face wash, or at least didn’t when I first started this routine, so I tend to just use whichever face wash I’m using at the time (I go through phases). But Clinique is a favourite that I always fall back on. I use the 60-second rule to wash my face, which simply means massaging it in and around the face for a minute to stimulate the collagen.
Step 3: Cleanse

This glycolic cleansing fix is so smooth going on that it feels like its resurfacing my face at this point: like tar filling in pot holes. OK, not quite that bad, but this stage hydrates the skin and is intended to reduce lines/wrinkles. Apply when the face is damp – not dry or wet.
Step 4: Exfoliate
Now comes the glow-up… literally! This isn’t the way you’d usually ‘exfoliate’, but Nip & Fab’s liquid exfoliator uses a combination of acids to refine the skin. I go for the 6% one because I use the lower percentage scrub to start, and want to push the “glowing” aspect of the routine. After this step, you start feeling the freshness, your skin can breathe again. (Bet you didn’t even realise it was suffocating?)
Step 5: Moisturize
Again with this stage, I’m not familiar with any of Nip + Fab’s moisturizing products, but I use Beau Brummel’s charcoal moisturizer, super smooth and silky.
Step 6: Plump

The other important stage for myself, personally. The Dragon’s Blood Plumping Serum is one of N+F’s best selling products, and I definitely notice the difference, in that things just feel firmer and tighter. (I was actually asked if I had cheek implants once). Collagen enhancing products tend to carry a hefty price tag so this one is great for people who don’t wanna break the bank too.


